
Create Unique, One of a Kind Pieces of Furniture Using Stencil Designs
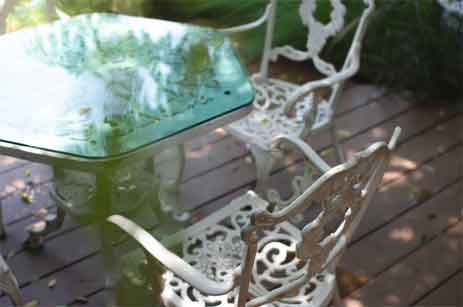
If you’re considering refurbishing an old piece of furniture such as a coffee table, using a stencil pattern may be the way to go. Stencils can add a lot of flair and individuality to any piece of furniture – and it’s guaranteed that no one else will ever have the same coffee table; how could they? You practically designed it yourself! Here are some tips and tricks for choosing the right stencil designs for your do it yourself furniture project.
Prior to beginning this project, you will need to purchase sand paper, paint or stain, a stencil brush, and of course – the stencil of your choice.
The first step to refurbishing furniture is to sand it down. This is important because you’ll need to buff out any dents or scratches, as well as get rid of any stains or imperfections on the wood (or other surface.) It will take some work to sand down a larger piece of furniture, but this is an important step and shouldn’t be skipped.
Once you’ve finished sanding down the furniture, it’s time to apply the first coat of stain, or the first coat of paint. Allow each coat to dry properly before applying a second coat (approximately 6 to 8 hours.) This allows the paint or stain to settle in, so you can see the true color once it’s dry rather than while it’s still wet – thus allowing you to decide whether or not you need to apply a second coat.
It may take a few days before you are finally ready for the stencil. During these few days, take time to look around at various arts and craft stores to allow yourself time to find the perfect stencil. If you’re going to be reusing the stencil in a complex design or pattern, consider buying a second stencil (of the same design) in case your first stencil wears down, tears or breaks.
There are thousands of stencils for you to choose from – so don’t settle for the stencil that isn’t perfect. You can also order your stencil from an online retailer. Keep in mind that stencils run a little higher up on the price scale, so don’t be surprised to spend 10 dollars on a stencil that’s only 3 inches by 3 inches.
Once your paint is dry and you’ve got your stencil, it’s time to pour the paint. Use an old dish or a paper paint so you have space to blot the stencil brush out. It’s very important that you use a stencil brush rather than any old paint brush. I also recommend using paint specially designed for stencils, rather than any old paint. You’ll save yourself a lot of time and effort if you purchase the proper paints and brushes ahead of time, rather than trying to save a few extra pennies purchasing regular brushes and paint.
When applying the stencil, tape it down securely on all 4 sides with tape. This will prevent the stencil from moving around and ruining your pattern or design. If you’re doing a border, you may want to allow each stencil to dry individually. This is a pain, but it’s the best approach to keep yourself from ruining the pattern.
After the stencil paint has been allowed to dry, it’s always a good idea to apply a clear coat to protect your furniture. You can purchase this for fairly cheap at local arts and craft stores and it comes in a can similar to spray paint.
Adding a stencil is a great way to add unique flair to any piece of furniture. It’s a fantastic way for you to ensure that your furniture is truly you.